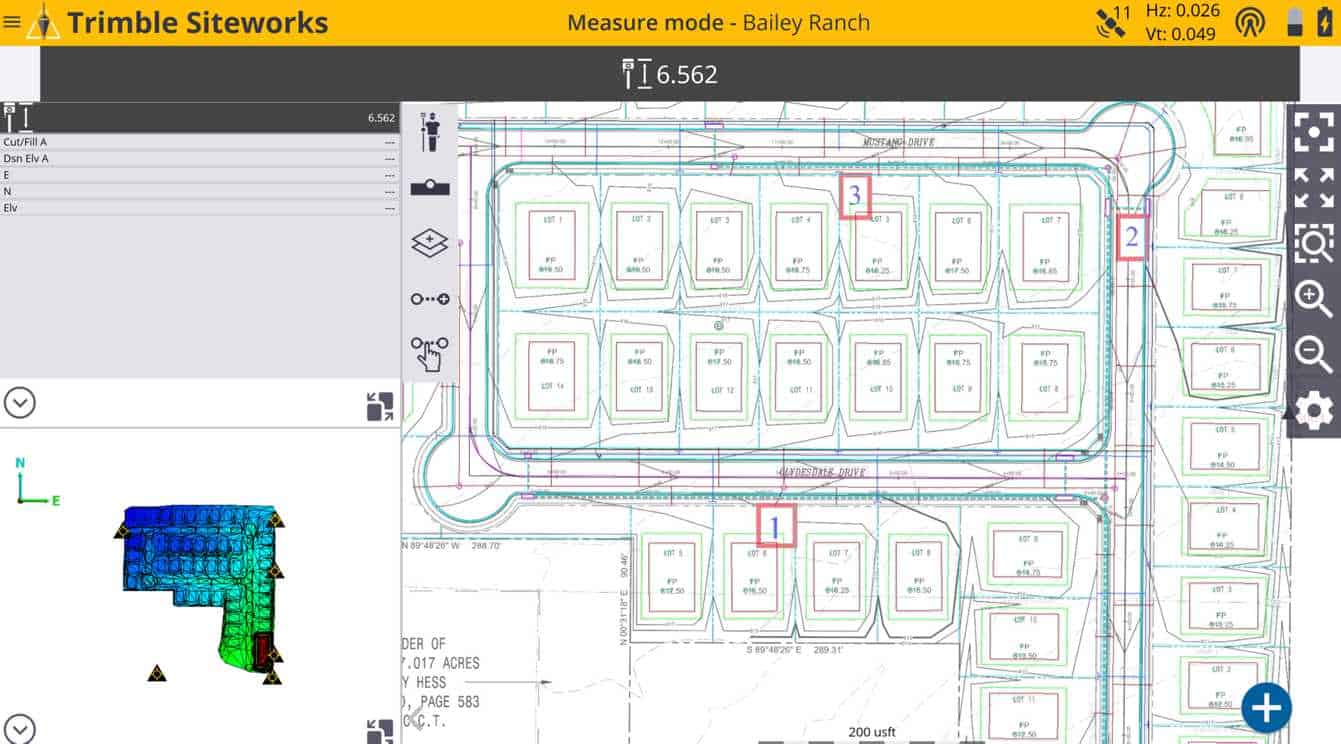
When looking into Trimble Siteworks I have came across new menu named images. This is a great addition to your plan view. The adding of images into Business Center was and is very crucial part of the design process here at Prosite Consulting, as I am sure it is everywhere else.
To add the image to your plan view in Trimble Siteworks click on the MAP settings. Once in the Map Options there is a sub menu Images. If you have imported images into appropriate folders they will show up in your menu. Just click the image you want your underlay to be and there you have it.
How to Geo-reference you plan in Business Center?
So I will create a detailed video on how to do that in the near future. But the gist of it is that you just drag and drop the image into Trimble’s Business Center. Once it recognizes the image you have few options how to scale the image into proper dimensions. How ever the one you want to choose is Geo-Referencing. Geo-Referencing means that you assign a pixel on your drawing a real life coordinates, whether they are local or published coordinate system.
How to export the image from Business Center ?
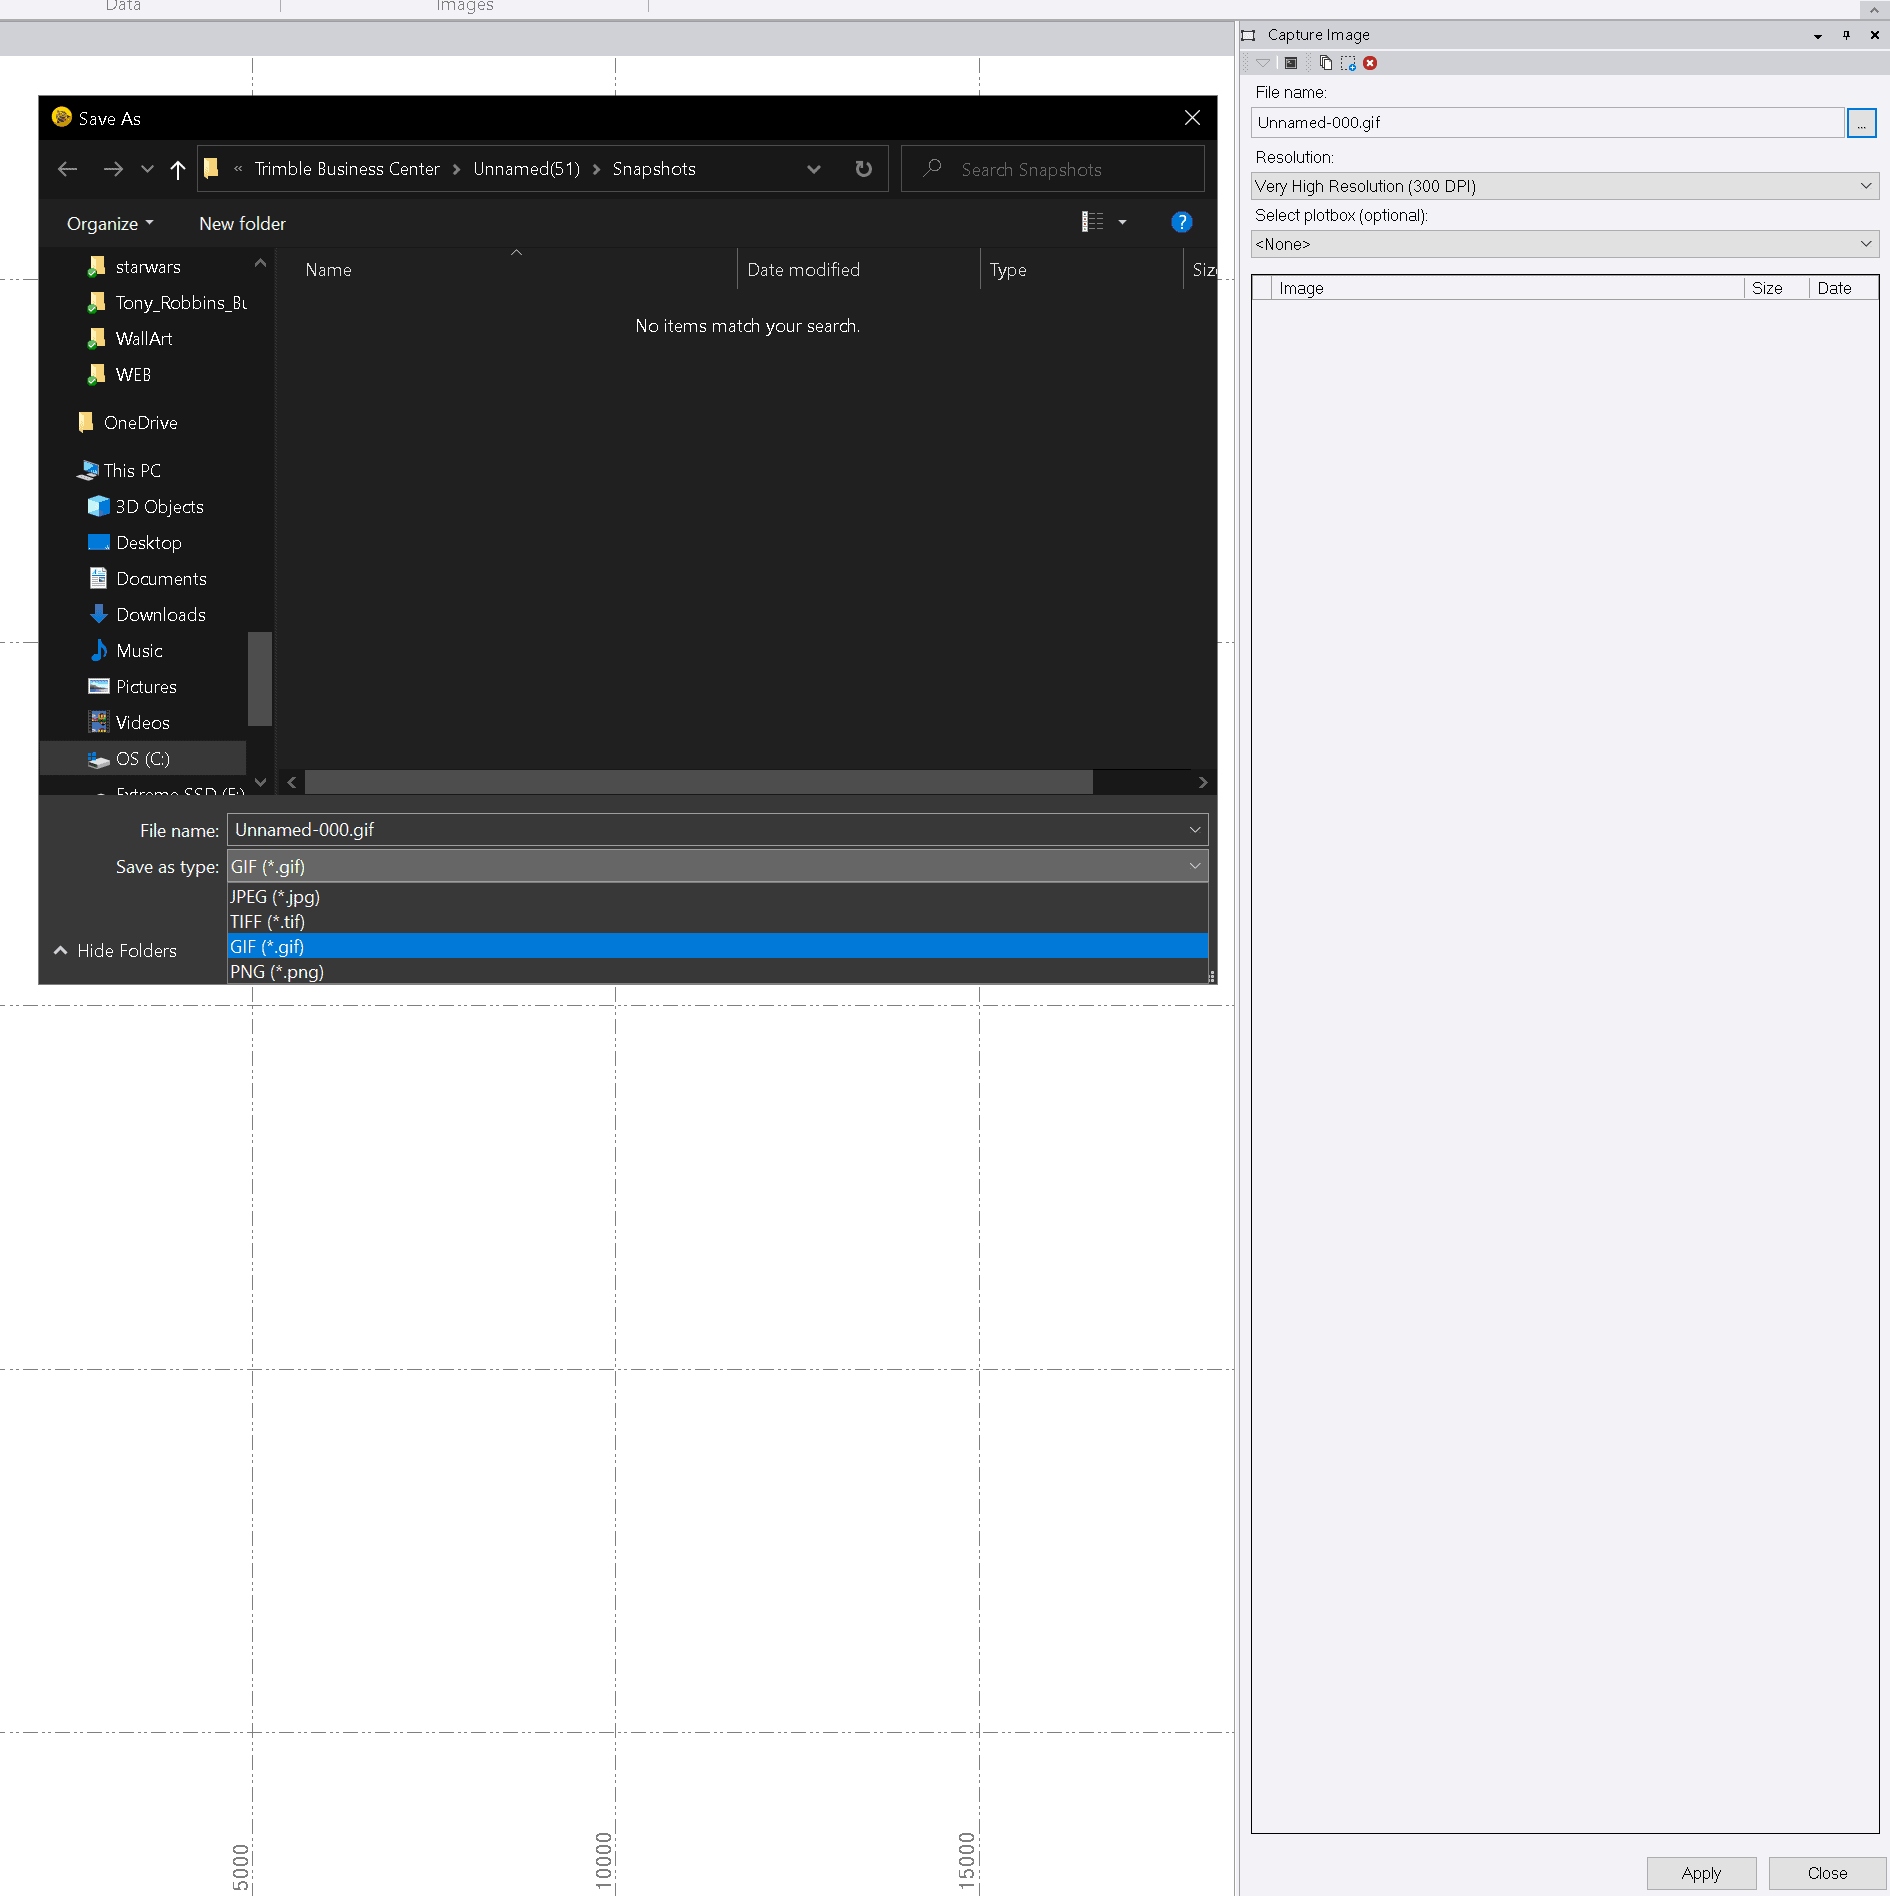
To export and image from Trimble’s Business Center is quite easy. Just locate a command “Capture Image” (in v5.4 it is located under CAD ribbon on very right side and it is named “Capture”). Select the image and under File Name select the desired name and click the three dots button. This will enable to choose a folder where to export and most importantly which format to export in. I have the most success with GIF since its shows the most detail and it is not scaled and thus not readable. Also make sure it is in 300DPI resolution to make is as clear as possible. After that just hi apply and you will see that Trimble Business Center has exported the image.
Where to upload the image files?
When exporting from Business Center it will create few different files. They will be as follows .gif .gfw and .kml. I have not experimented if you need to copy all of them into the Siteworks but I will explore this more in the video. So do not forget to check it out. Under Trimbe Synchronizer Data -> controller name -> Trimble SCS900 Data -> project name -> you will find a folder named Backround Images that is where you want to copy all the image files generated. This will enable you to see the image files under the image menu in Trimble Siteworks.
Why to upload images into Trimble Siteworks?
Well as everybody will have many reasons to do this I can think of a few to begin with. By utilizing the images in Trimble Siteworks you will cut down the time on what needs to be drafted, mostly annotations, since they will be displayed. There will be a quality control out in the field. Lets face it how many times did you mistyped a number? Well quick check on the drawing by survey crew can solve it on the spot! Or how many times you have not included a piece of information which was on the plan, speaking of do you have latest revision? These are just a few what I can thing of!
Here is YouTube video on how to add the image into Trimble Siteworks.
Hope you enjoyed this please visit us:
Please visit us @ https://prositeconsulting.ca/ for your modeling and training needs
Join our LinkedIn Trimble Business Center group https://www.linkedin.com/groups/44682…
Recent Posts
The Financial Blueprint: How to Budget for Site Surveying Services
Everything in construction costs money, and trying to plan out those expenses can feel like trying to guess the price of a massive, real-life LEGO set. When you are building something big, like a new...
Why GPS Needs a "Snapchat Timer": Understanding Correction Age
Ever Wondered How Your Phone Actually Knows Exactly Where You Are? Imagine you are playing a mobile game like Pokémon GO, or using Google Maps to find a new skatepark. Your phone uses GNSS to figure...